From a Photograph to a Painting using Painter IX.5
If you read my review on Corel Painter IX.5 update, you will remember about the new additions to Painter IX.5 of a series of palettes for Underpainting an Image, Auto-Painting the image, and Restoring details to the image. This tutorial will lead you through the steps on how to do it.
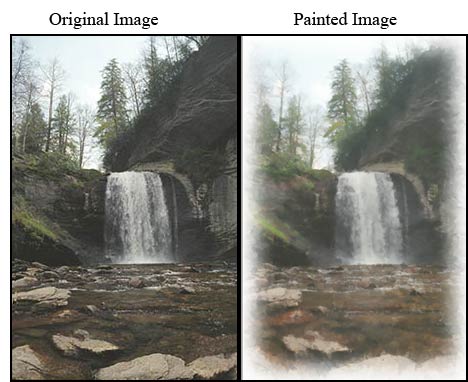
I actually started with an image that was not a pure photograph. It was a combination of a number of photographs blended together but not changed with any special effect filters. The first image (below) shows the original image and the finished painting. How the finished painting will look will depend on choices made by the artist. While Painter will do a lot of the work, the artist still retains control.
Step 1 - Place on the screen the three palettes: Underpainting, Auto-Painting, and Restoration.They are under Windows on the top tool bar.
Step 2 - In the Underpaing Palette there are a number of choices. I chose Lighten, Rectangular Vignette at 25% for the edge effects, and 65% blur.
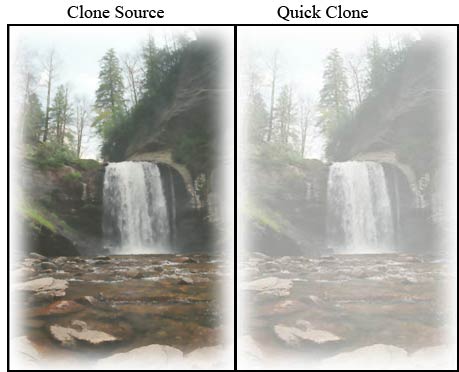
Step 3 - Click on Apply and, then, Quick Clone.
Step 4 - Now comes the painting part. It is here where one can do as much or as little as one likes. The choices of brushes depend on two palettes/toolbars: the Auto-Painting Palette and the Brush Selector Bar.

As with all the brushes in Painter, the Stroke can also be modified. There are 19 different strokes. As you can see, these can be modified in the Auto-Painting Palettes and the brush used to create the Stroke can be modified using the various brush controls.
If you look above at the Stroke Palette, you will see an arrow tip and a square. The arrow tip will start the process, and the square will stop it. In addition, the process can be undone. When you work, you can use combinations of Strokes and brushes.
5 - Choose a brush or use whatever brush happens to be the default brush; choose a Stroke type; and click on the arrow. You will see the strokes filling up the canvas. When you are satisfied, hit the square.
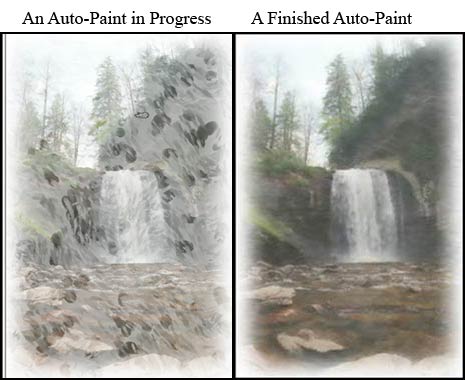
Step 6 - The final step is to bring up some of the details of your original. However, remember that you blurred it before you created the clone, so that the details will not be as sharp as the original.
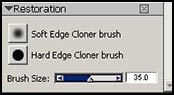
When you restore some of the details you are using the original image that was modified as to Style, Edge Effect, and Blur. So the details will come from that image. Go back to the beginning of the tutorial to see both the first and the final image.
For information on Corel products, go to www.corel.com
![]()