Blending a Selection into the Background |
|
|---|---|
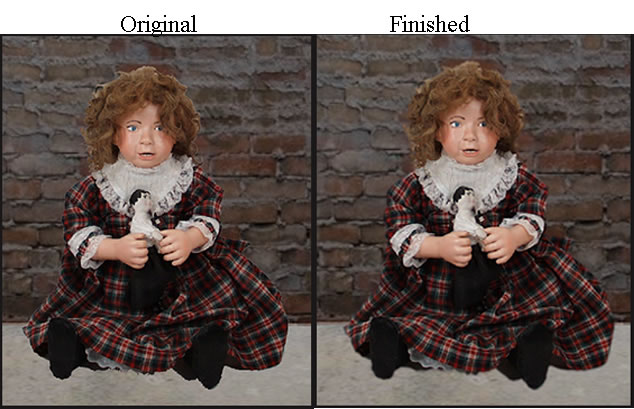
There are many ways to blend an image into the background in Photoshop. I have found this method to be is easy, and the results look good.
|
|
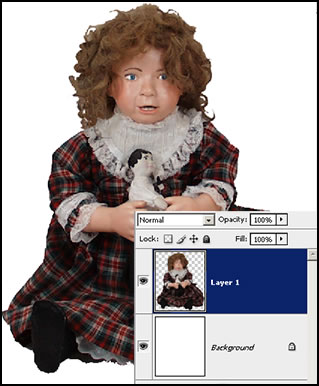
A photograph of the doll was taken against a white-gray background, and, then, she was removed from the background and placed on a layer over a white background. She now is alone on a transparent layer over a white background. No matter how clean one removes an image from another image, often pixels of the original background will remain. I keep this image in a folder called Graphic Components so I can use it wherever I want. I wanted to take this image and put it against a brick wall. So I selected the image of the doll, Select>Load Selection, and copied and pasted it on the brick wall. I did not flatten Layer 1 and the Background. |
 |
| Step 1 - Notice the edges on the doll. They have remnants of the background as well as a sharp edge. For the image to look a part of the background, first the matte around the edge and the harshness must be removed. |  |
| Step 2 - The first thing to do is to remove the fringe. You do this on a selection, not a selected selection. | 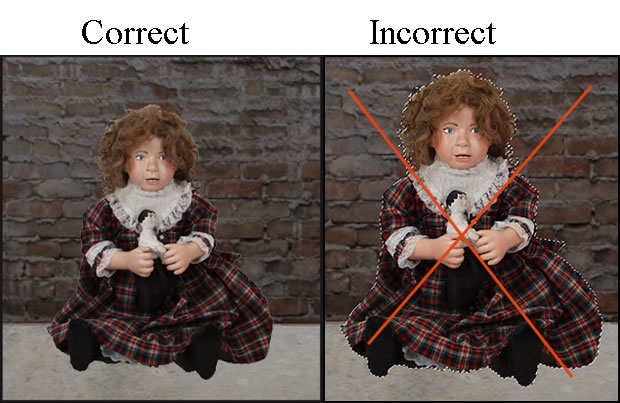 |
| Step 3 - Now there are three ways to get rid of the matte surrounding the doll image: defringe, remove white matte, or remove black matte. In this case I used defringe. To defringe, you go to Layer>Matting>Defringe..... In this case, I defringed by two pixels. | 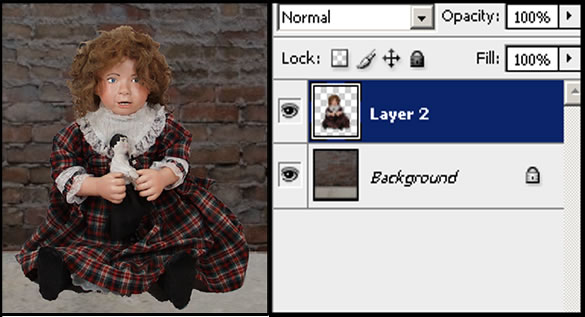 |
| Step 4 - After you defringe, while you have a cleaner edge, you still have a hard edge. | 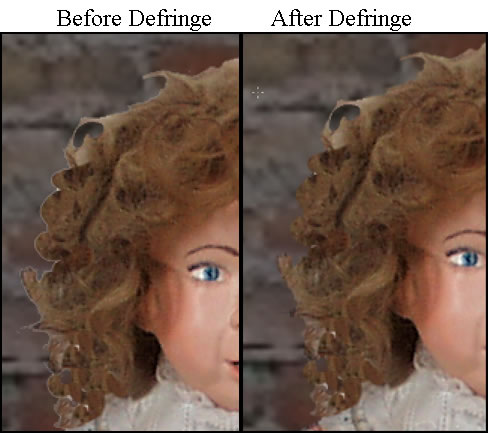 |
| Step 5 - To soften the edge, select the image. Go to Select>Load Image. Then go to Select>Modify>Contract. Here you can contract anywhere from 2 to 5 pixels depending on the image. Start by contracting by 2 pixels and see if there is enough of an image outside of the selection. This image was contracted by 3 pixels. | 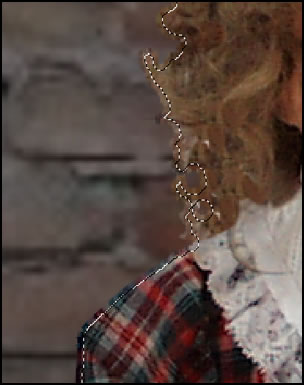 |
| Step 6 - Now inverse the selection. Select>Inverse. Remember, the selection of the doll is on a layer by itself. The brick room is the background layer. |  |
| Step 7 - Now that the selection is inverted, you will use the Gaussian Blur Filter to soften the pixels outside the image. Since the image is alone on this layer, it won't affect anything else. | 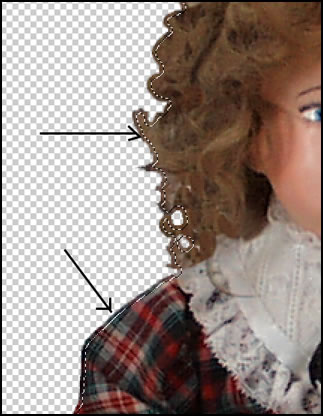 |
| Step 8 - Go to Filter>Blur> Gaussian Blur and set the blur anywhere from 1-10. The blur I used here was 2. | 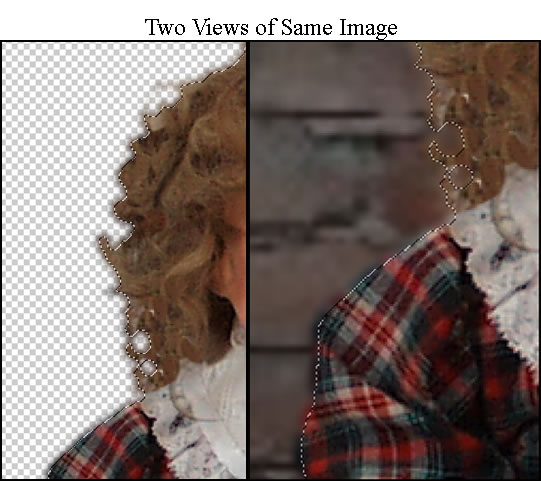 |
| Step 9 - Now flatten the image and you are finished. | 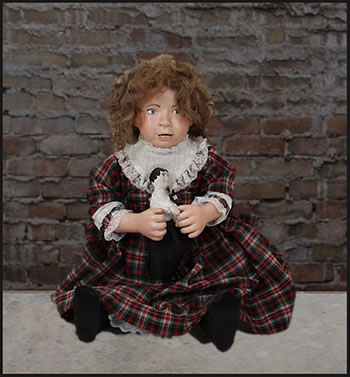 |