Steps Toward Monitor Calibration
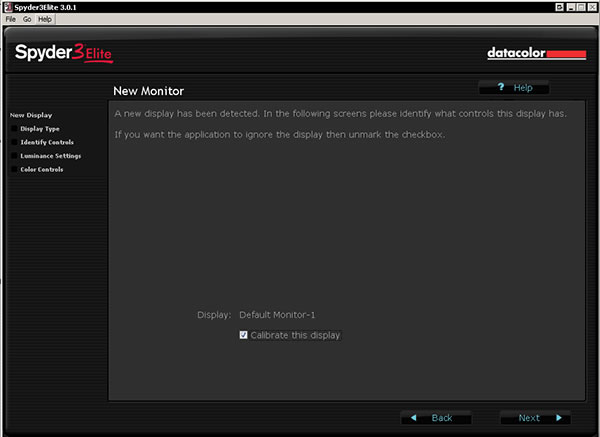
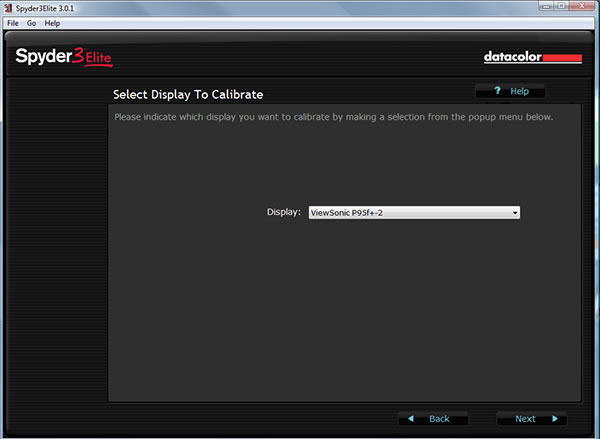
Choose which monitor you will calibrate. If there are two on a system, it will be 1 and 2.
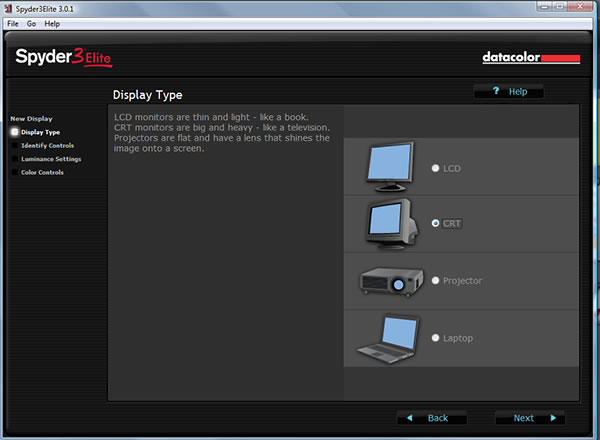
Choose the type of display.
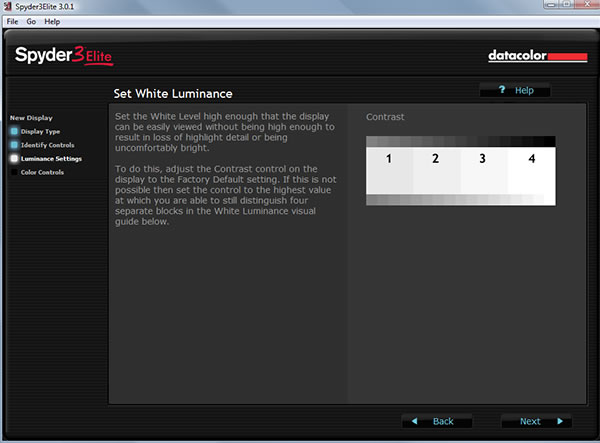
Set the White Luminance. How you do it will differ a little depending whether you are using a CRT or LCD.
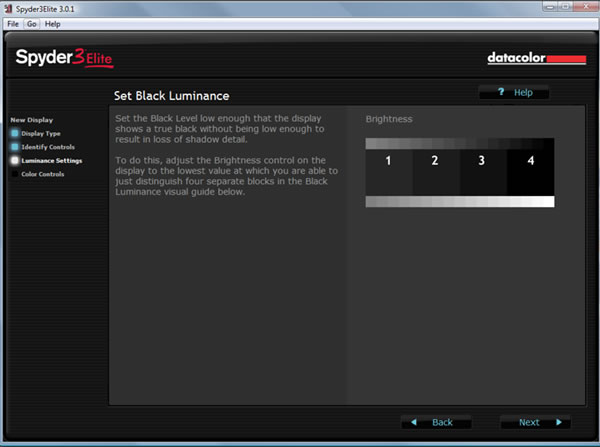
Set the Black Luminance. How you do it will differ a little depending whether you are using a CRT or LCD.
Mark what type of selections your monitor has. These are selections for the monitor hardware, not the video card.
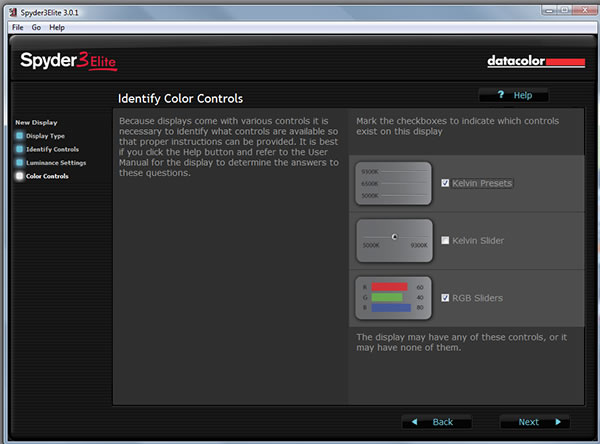
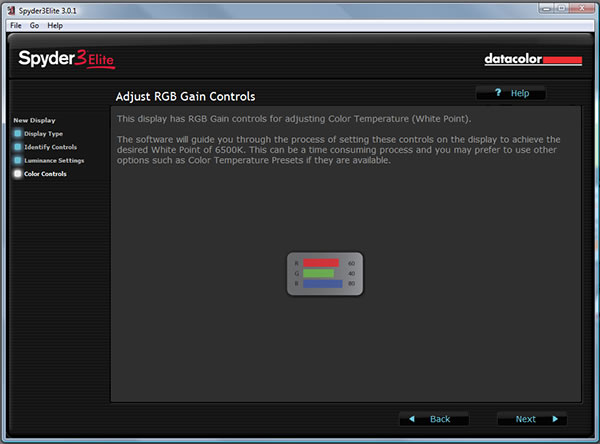
When RGB Sliders are chosen as well as other methods, the program will defer to using the RGB Gain Controls (RGB Sliders.)
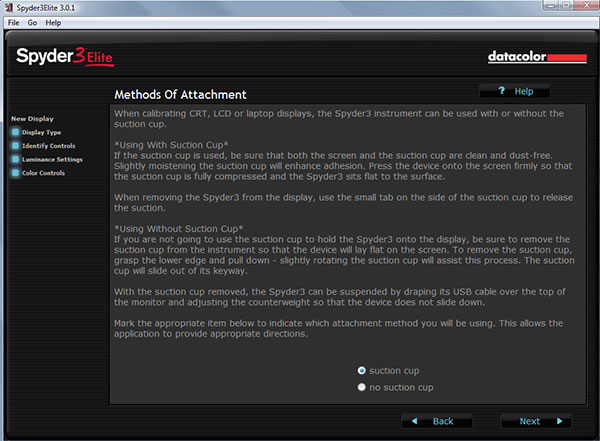
Select how you will attach the Spyder3 to the monitor.
Select the display again.
State whether you are just checking or recalibrating. This will show up if the display has already been calibrated. If the display has already been profiled, the screens above(except for the one immediately above) this will not show up. This will be the beginning of the process.
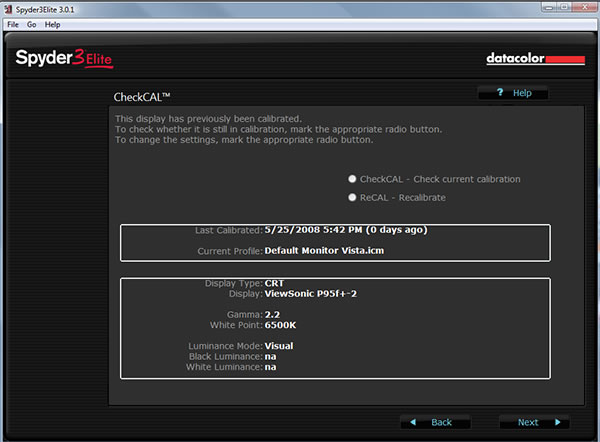
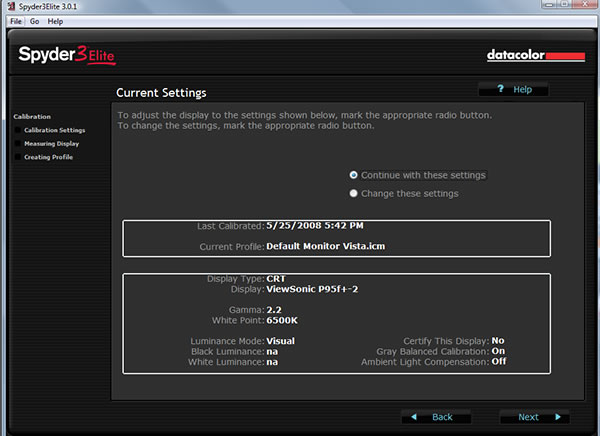
Decide what options you will use. If you select Change these settings, a few more screens will show.
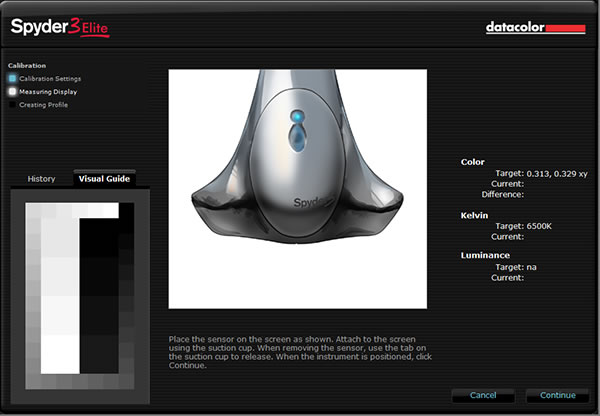
Put the Spyder3 on the monitor.
The first round of reading done by the sensor will be to set the RGB Gain. You want all the levels the same. This is not hard to do if you follow the target and see how the controls change as you increase or decrease the RGB Gain Controls on the monitor hardware.
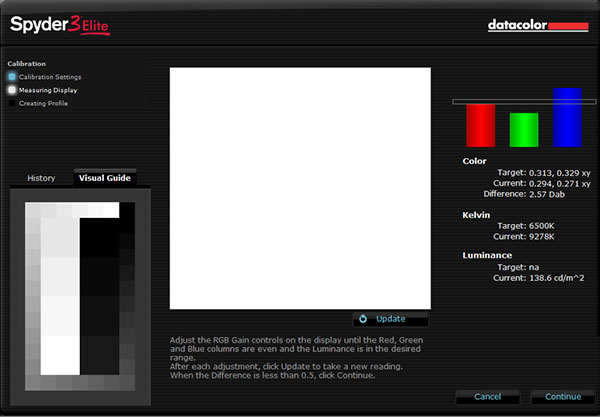
Below shows one perfectly aligned with the target.
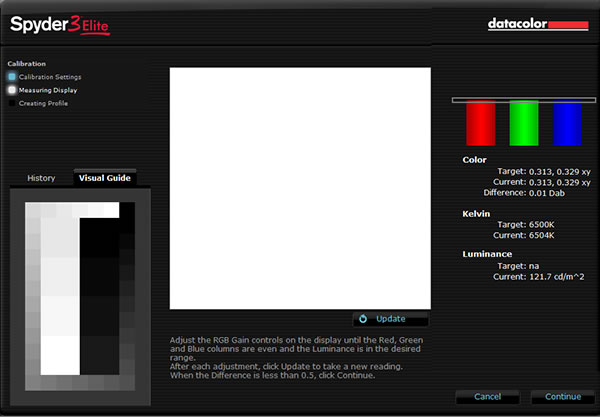
After this point, the Spyder continues calculating the calibration and no more actual choices need to be made unless you want to recalibrate. On my monitor, from the main menu, the RGB controls can be found under ViewMatch Color>User Color. This will probably be slightly different on each monitor.
