Target Remeasuring Tutorial
Step 1 - Open the program. On the top tool bar you will see a category called Tools. Click on it and go to Information. When you open Information. you can put in the name of the profile you want to modify. Then, click Finished.

Step 2 - The page for choosing the type of target will appear. Just click Next.

Step 3 - Close this screen since you are not going to build a new target from scratch.

Step 4 - Recalibrate the Spectro by hitting the Enter or Return key or clicking on the Spectro.

Step 5 - At this screen, click Next.

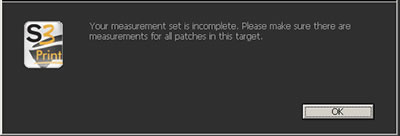
You will get a screen that says "measurement information not complete." Click Ok. The measurement screen for the patches will open.

Step 6 - Click on the View/Measure button. Using the Arrow keys on the keyboard, maneuver to the patches that you want to remeasure. If you want to keep the same name, don't change it.

Step 7 - Click OK if you want to keep the same name. Since you are correcting patches, this, I believe, is a good idea.