Review of Adobe Photoshop Elements 7
The Best Kept Secret for Image Editing and More
Last Year I reviewed Adobe Photoshop Elements 6 and Adobe Premiere Elements 4. I will be reviewing Photoshop Elements 7 and Premiere Elements 7 in two separate reviews. I will mainly concentrate on their new and enhanced features as well as, of course, how well they work, how easy they are to use, and what can be accomplished with each. I will also discuss Photoshop.com Basic, which comes free with the program, and Photoshop.com Plus with has a yearly fee. I am using a PC with Vista Ultimate 32-bit.
Before we get started, let me say that this is a terrific program. Aside from the new Photoshop.com, Adobe has added some really nice features and enhanced others. If you are thinking of upgrading or just purchasing it for the first time, I highly recommend Adobe Photoshop Elements 7.
As I stated in my review of Photoshop Elements 6, it is much more than just an image editing program. It gives the user the ability to Organize, Edit, Create, and Share. I will discuss this later in more length. As with Photoshop Elements 6, there are three modes for image editing - Quick Fix, Full Edit, and Guided Edit. This affords users of different levels the ability to work at their own skill level and grow. Also, the different modes offer different features. I find that I will switch modes during an edit to make use of this.
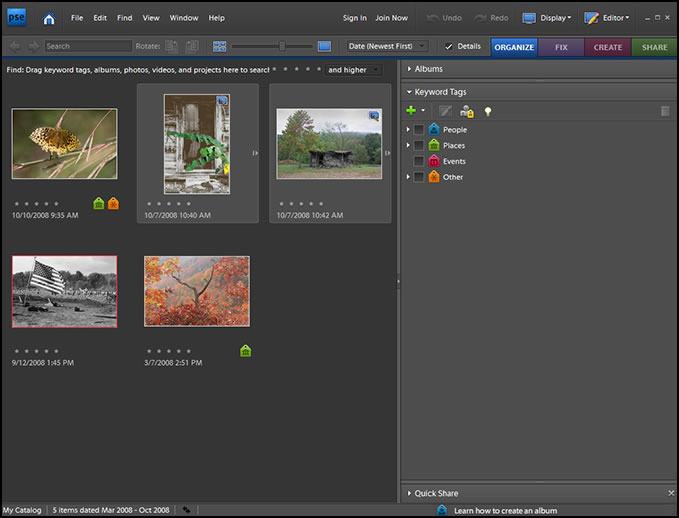
In the Organize mode, you can create albums of images and search for images. Notice the tags I created. I will discuss the new Search feature later in the review.
In the Fix or Edit mode, you can choose which level of editing you desire to use. Edit is the designation from the Welcome screen. It opens in Full Edit mode, but you can still choose which level of edit you prefer to use. Fix is what I call the "internal" option because it is the name that appears on the tool bar within the program. Here, the choices are a little different. Below are the next 3 panels for Photoshop Elements 7. In the Fix Panel, you have the option of doing an automatic fix using various controls or working with one of the three levels. In Full Edit mode, the choices are incredibly close to the choices in Photoshop.
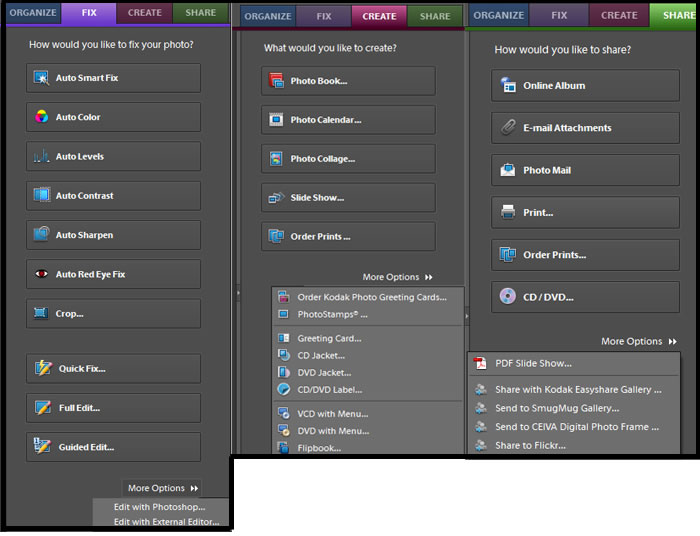
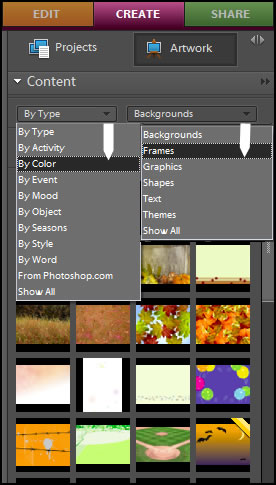
When you access the Create tab, you are choosing how to present your images. Notice the large number of automatic choices through templates. Also, there is a function so you can actually order Kodak greeting cards from inside Photoshop Elements 7.
In the Share mode, you choose how to distribute your images. All of these will be discussed more in depth later, especially as to what is new to them or enhanced.
Immediately upon accessing different areas of the program, I found that Photoshop Elements 7 responded much faster than did the previous versions. To describe the new and enhanced features and how they work, I will divide the program up in the same manner as does the Welcome Screen.
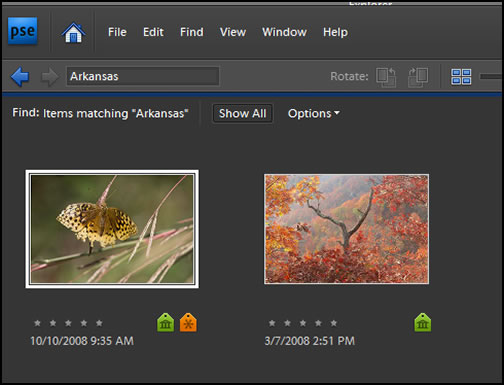
In Organize it is easier now to access your images and find them. You can tag your images to easily search for them later. Some of the criteria can be name, date, and EXIF - data such as camera model, date of photo, etc. It is very easy to do. Below I have added Arkansas (Places) tags to two of the images.
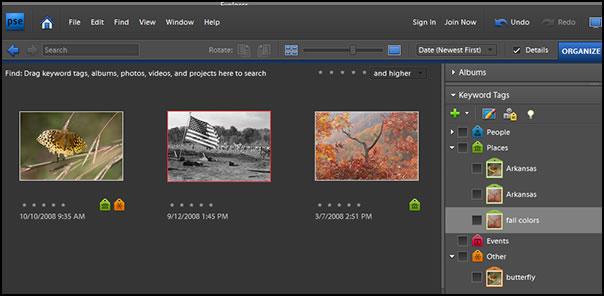
To find all my images taken in Arkansas, I enter in the Search box on the upper left, the word Arkansas. Notice how the two images appear. This Search box is not present in Photoshop Elements 6.
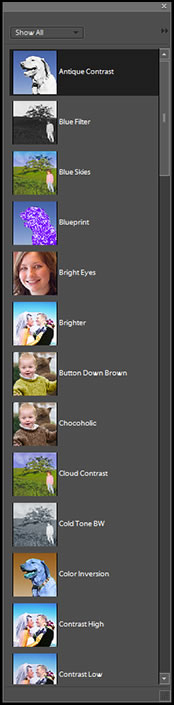
The Edit (FIX) Section of Photoshop Elements 7 is full of new and improved features. There are new features in each of the categories for editing - Quick, Full, and Guided. In the Full Edit mode, where you have the most control, there is a new brush called the Smart Brush. Here you can add a blue sky, whiten teeth, add a fluorescent glow, create an antique look, etc. If you notice where the slider is positioned, you will realize how many effects are possible with the stroke of a brush. The Effect is created on a separate layer so it is non-destructable. There are eight libraries of over 50 effects.
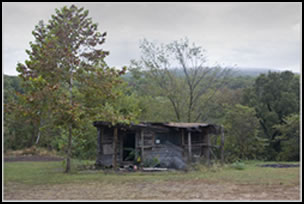
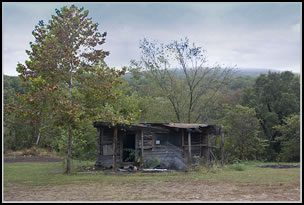
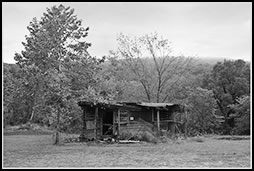
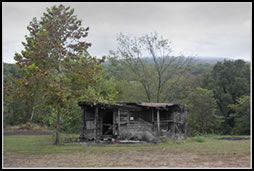
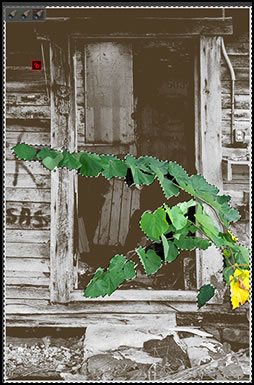
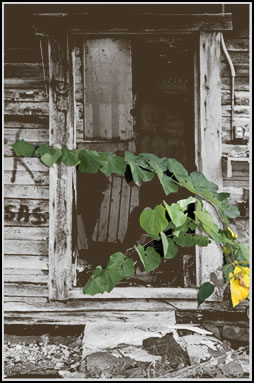
The first row shows the original image with a blue sky added on the right. The second row shows the neutral Tone BW brushed on the whole image and brushed on only the shack. The last row shows how I can add the Tin Type effect on part of an image. The left image is a screen capture before saving; the right image is the saved one. For this, I added the effect to the whole image, and, then, subtracted it from the green plant. As you brush on the Smart Brush, it creates a selection.
 |
 |
 |
 |
 |
|
 |
 |
Removing unwanted items in a photograph is another great feature. You need to have more than one image of the basic figure in the picture since this is accomplished under Photomerge by activating Scene Cleaner. For this you use the Guided Edit mode. To test this out, I created in Poser 7 two scenes with identical backdrops and images in each. My goal was to remove the images. This is very easy to do using Scene Cleaner and must have at least two images. What you are doing is removing a figure from one and substituting the space behind that figure. Thus, if you remove a figure from one scene, there must be only background where that figure would appear in the other. The top row was created to show how the space is occupied between the source and final images. In other words, when I remove the woman and the shoe from the Final, they will be replaced by the background that is in the Source. The bottom row shows what the workspace looks like in Photoshop Elements 7.
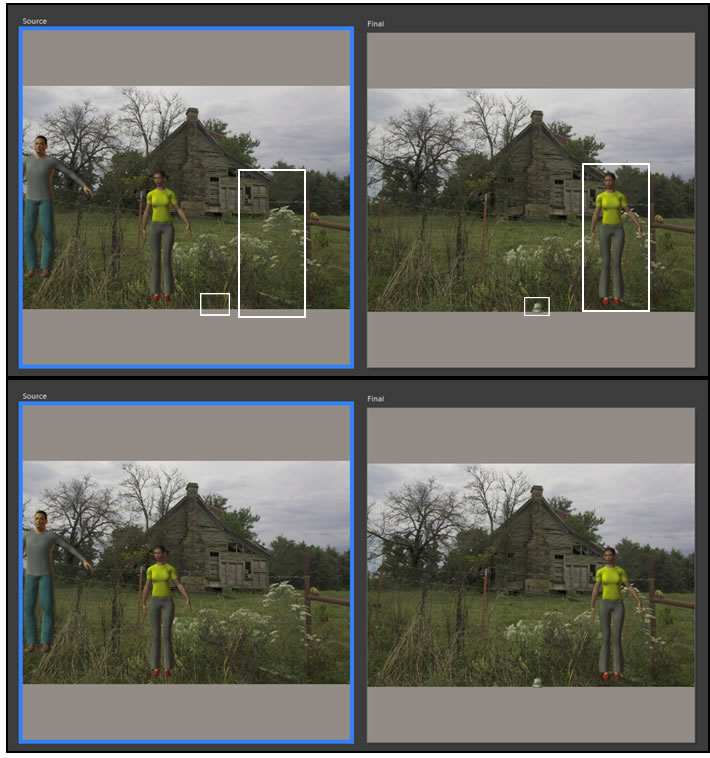
Below are two final images. The one on the left is before it was saved. The blue lines are the pencil lines used to remove the figure and the shoe. Notice how well the woman and shoe were removed so the background was all that was left. When you are taking photos of scenics and there are people in the way, take a lot of pictures so that there is free background space in the different images. This is a fantastic new feature!
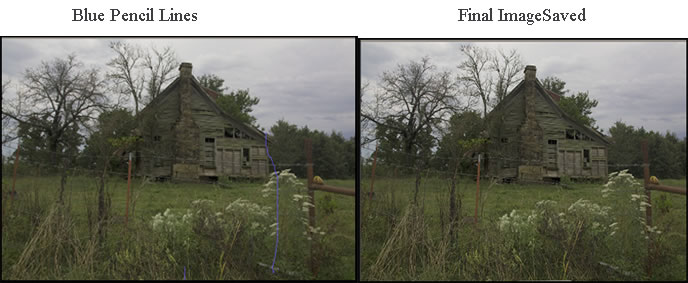
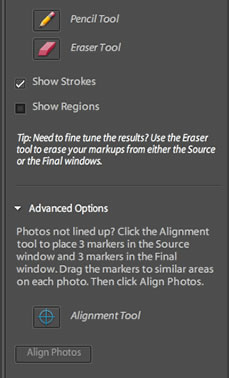
To accomplish the above, you align the images and then use the pencil tool to draw through the images to remove them in the one designated Final. You can , also, add images.
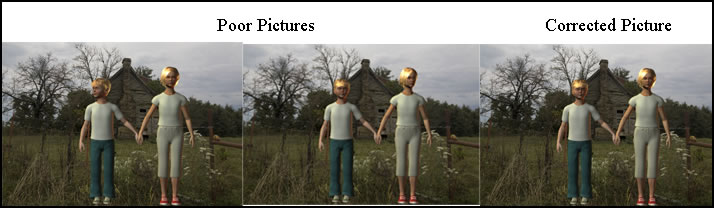
The next two features are not new to version 7, but I believe that they are worth mentioning. They also have to do with Photomerge. If you have a few photos of groups of people, you can mix and match them. In the following photos, I just changed the facial position of the boy by penciling through the face I wanted to be in the final image.
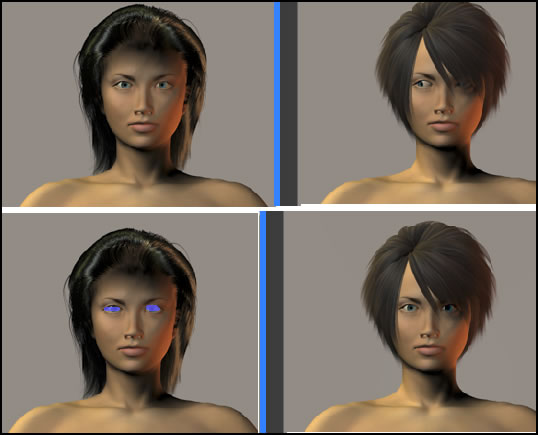
You can, also, change just the eyes, using the Face command in Photomerge. It is useful to make sure the images are aligned with the Align Image command, or an eye could appear on the forehead. Just draw a line in the Source image through the "Good" eyes, and they will appear in the final image.
In this mode you can also use Actions and even use Photoshop Actions so long as the changes are supported in Photoshop Elements 7.
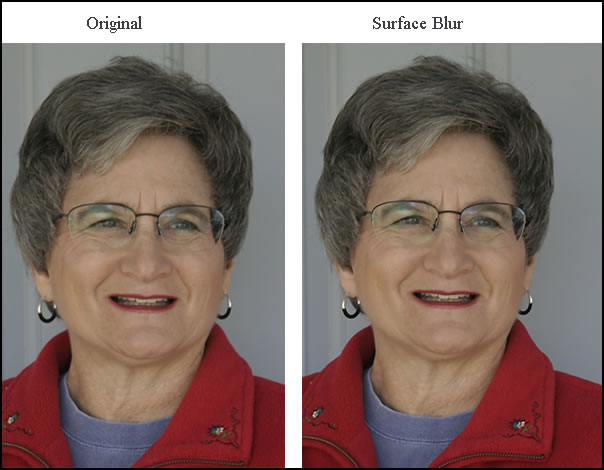
Surface Blur has been added to Photoshop Elements 7. This is great on portraits where you want to soften the features. To do this, you need to be in Full Edit mode. You make a selection and apply under Filters> Blur>Surface Blur. You control the blur with the radius and threshold sliders. Here I used it very slightly, just enough to get rid of some of my deeper lines.
Even if you normally use Full Edit mode, there is so much that can also be accomplished using the other two modes.
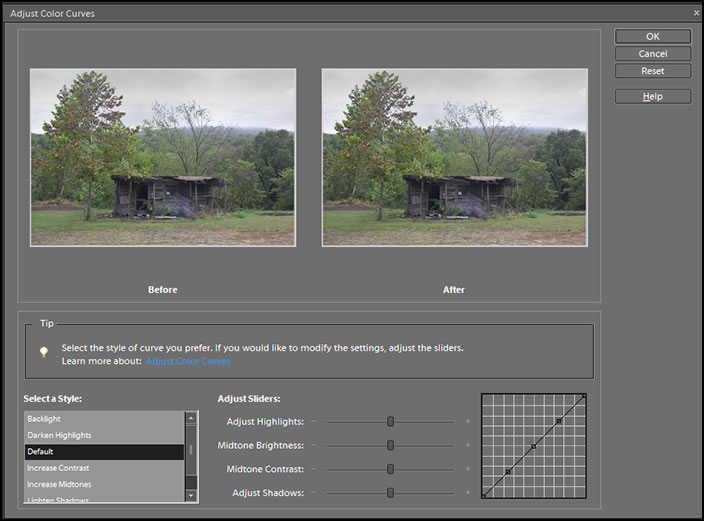
I just thought I would show some of the features that are really well developed such as the Adjust Color Curve. Not only can you adjust the curve manually, but there are presets and you can adjust parts of the curve easily.
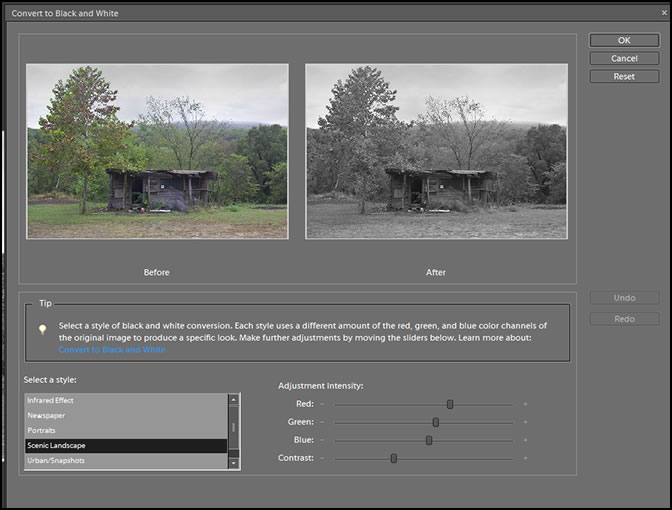
The Convert to Black and White, also, has nice options. So many of the controls in Full Edit mode are similar to those found in Photoshop.
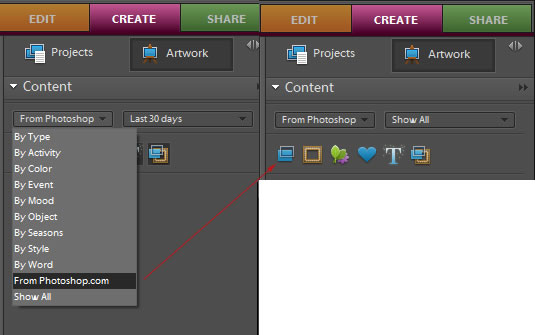
If you look at the screen capture near the beginning of the review, you will see all the different projects that can be created in Create mode. Some involve ordering online, but most you can do yourself such as create a Photo Book. The Artwork Palette has been enhanced to provide more themes, clip art, etc.
Within Photoshop Elements 7, the Share mode gives you the ability to share your images. See the screen capture in the beginning of the options.With the addition of either the Photoshop.com Basic, which comes with Photoshop Elements 7, or Plus, which has a fee attached, many more avenues are opened such as templates which you can download from within Photoshop Elements or Premiere Elements.
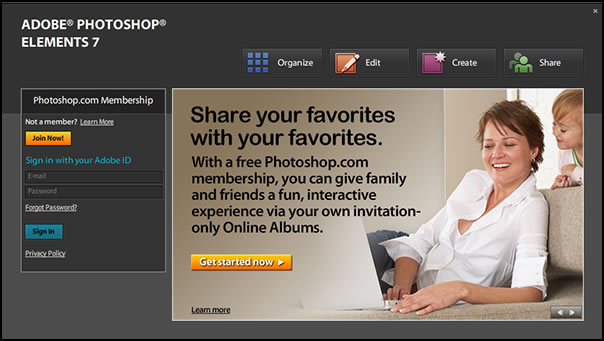
Once you have an account and sign in, the screen give the following options:
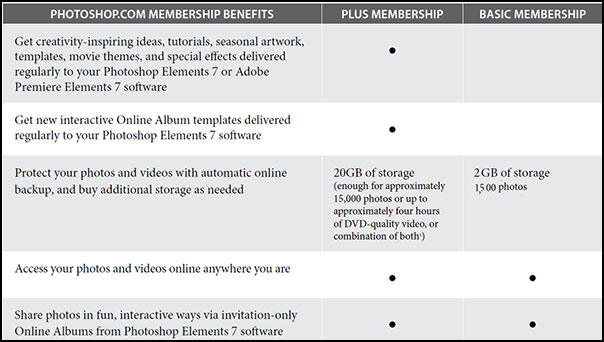
With the Basic subscription which is free, you can find tutorials for both Photoshop and Premiere Elements, create a backup, and put up an online gallery.
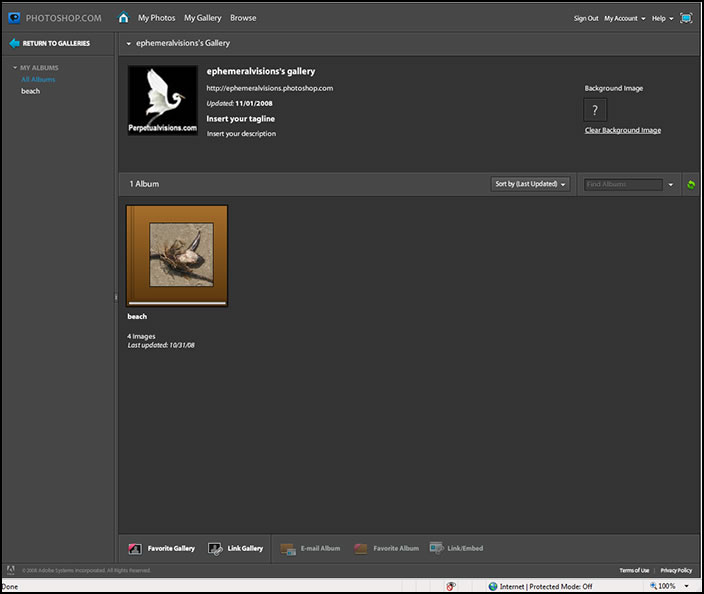
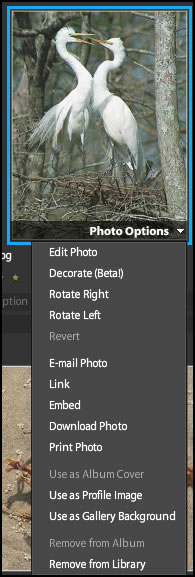
You can also Browse and see others' galleries. Notice, in the upper left corner, you can position your own icon. In your gallery, you can edit and add to your images by right clicking on the image.
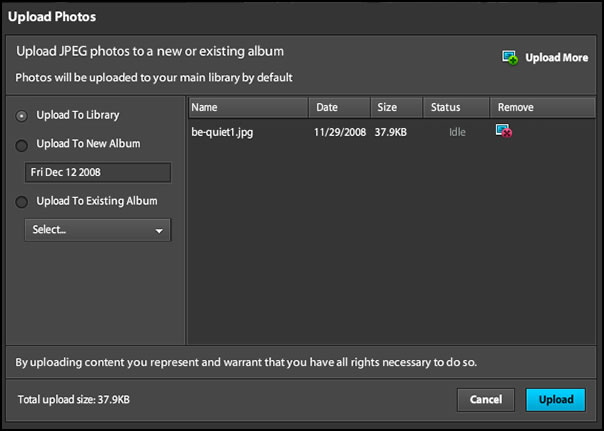
It is very easy to upload pictures; all you do it click on the upload button. As you can see from the screen capture below, you have a number of options.
With the Plus membership, you can access additional material such as themes. However, at the writing of this review, their were none to download.
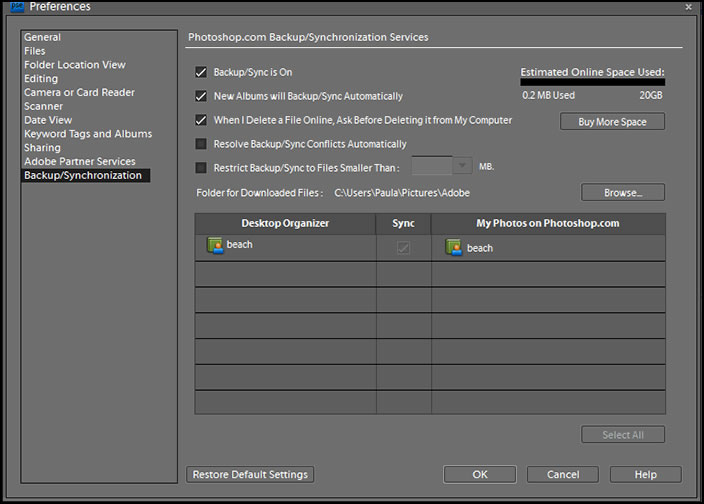
Backup is very easy to do. Go to Edit>Preferences and choose Backup/Synchronization.
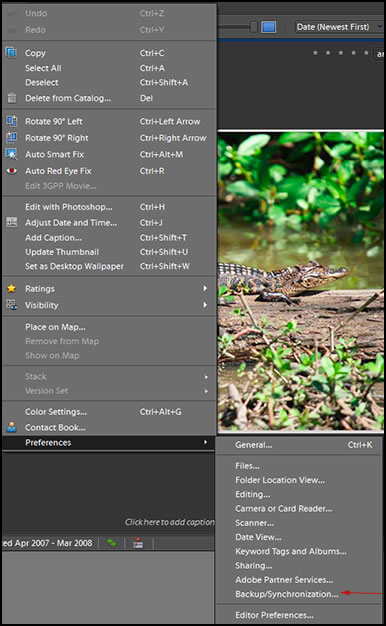
This will open Photoshop.com. Here you can make your choices on what features you want to use to Backup your material.
If you need help, Help is just a click away.
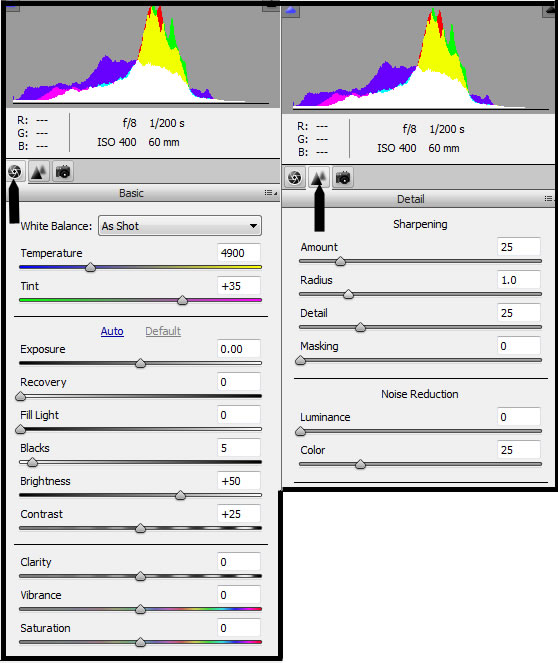
Camera Raw can be used in 8 or 16-bit mode as it could in Photoshop Elements 6. A new Camera Calibration drop down menu has been added.
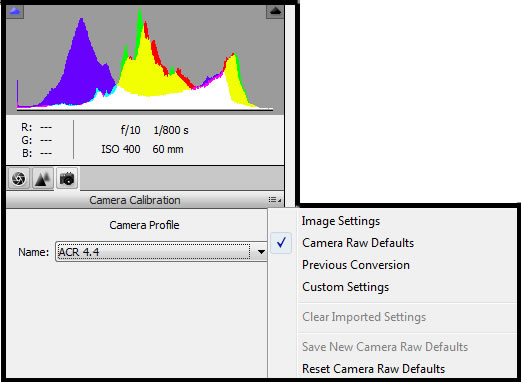
There is, also, a Basic menu and a Detail menu.
The basic requirements are:
Adobe Photoshop Elements 7
- 2GHz or faster processor
- Microsoft® Windows® XP with Service Pack 2 or 3 or Windows Vista®
- 1GB of RAM
- 1.5GB of available hard-disk space
- Color monitor with 16-bit color video card
- 1,024x768 monitor resolution at 96dpi or less
- Microsoft DirectX 9 compatible display driver
- CD-ROM drive
- Web features require Microsoft Internet Explorer 6 or 7 or Mozilla Firefox 1.5 through 3.
It is available in the following languages:
- Czech
- Dutch
- English
- French
- German
- Italian
- Japanese
- Polish
- Russian
- Spanish
- Spanish (Latin American)
- Swedish
- Turkish
Adobe Photoshop Elements 7 can be purchased for US $99.99 with the upgrade price of US $79.99. If you want to add the Photoshop.com Plus feature at the time of purchase, it is US $139.99. Otherwise, it is $49.99 per year. For more information on Photoshop.com, click on the underlined words.
The purchase price of the bundle that includes Photoshop Elements 7 and Premiere Elements 7 is US $149.99 with an upgrade of US $119.99. For more specific individual price, go to: http://www.adobe.com/products/photoshopelwin/?promoid=BPDEM.
3rd party books are available or will be soon at books stores, also.
Photoshop Elements 7 is a great program. I loved Photoshop Elements 6 and I even love this one more. It is a tremendous bargain for the money. Even if it costs 3x as much, it would still be an excellent investment. For more information go to the Adobe website.