|
The first of mini tutorial using Cinema 4D Xl 7 and Poser
Pro Pack dealt with modifiying hair. This one will describe
how to bring a whole Poser figure into Cinema 4D and modify
a piece of it. It relies on the reader having completed the
first tutorial.
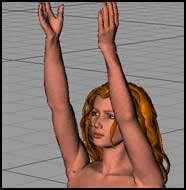
1- Bring a whole figure into Cinema 4D.
2 - Save it as a Cinema 4D figure.
You will notice that the Poser materials are
brought along with it.

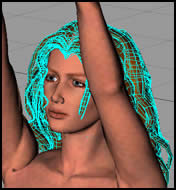
3 - Make it editable by clicking on the name of the figure
in the Objects Menu on the right side of the screen.
This will bring down two components of the Poser Object.
Both will be called Body. But only the bottom one will
be the actual body of the person. The top one will be the
hair. So click on the top word "body" once, and
change it to hair. You will use this later.
4 - Let's decide that you want to remove a lock of the hair.
For this exercise, you will remove it, polygon by polygon.
There are two ways you can do this.
method 1 (a) - Double click on the gray dot to the
right of the word body until it turns red, then the body will
have disappeared from the screen. It can always be brought
back by reclicking the red dot until it appears grey again.
(b) - Select the polygon tool and delete the polygons one
by one.
method 2 (a) - Do not hide the body.
(b) - Select the polygon tool and delete the polygons one
by one.
Unfortunaletely, you will notice that with both methods extreme
care must be taken so as not to remove other polygons. The
best method is to use a combination of both and to save often.
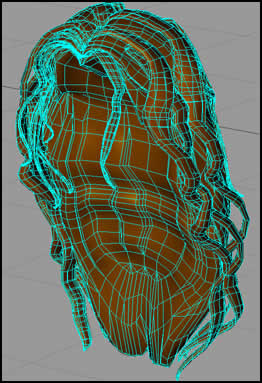
If you use the shadedguard display with the polygon tool,
the shading helps identify the polygons. The screen capture
under method (a) 1 depicts an illustration of the shadeguard
display.
|