|
Before you install the plug-in, read the handy downloadable
guide that comes with it. It will save you time and effort.
1 - Create a figure in Poser. I chose to just use the generic
long conformable curls found under the clothing section.
2 - Open Cinema 4D and clicked on Plugins on the top
Menu Bar. If it asks for a file "Poser.dta file,"
the file can be found under Curious Labs/Poser4. You only
have to access it once initially. Poser Pro Pack must be installed
on the computer for the plug-in to work.
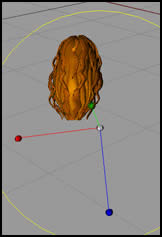
3 - Open the Poser file in Cinema 4D.

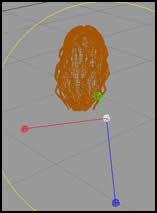
4 - Once in Cinema 4D, I rotated the object so that its initial
position was best for editing.
5 - In the right hand part of the screen, under Object
Menu, click Poser Object.
6 - Then in the Main Menu, under the heading Structure,
click Make Editable. This will allow you to edit the
mesh.
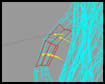
7 - Then turn the object into wireframe and choose any view
you want to edit the particular object. You, of course, can
turn it as you work.
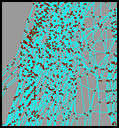
8 - To make the whole head of hair editable, I wanted to
be able to choose individual polygons or points should I desire.
To do this, I clicked on body in the right hand Objects
Menu, and with the Live Selection and the Polygon
Tool selected, highlighted a polygon. Or with the Point
Tool selected, the entire head of hair was selected. Should
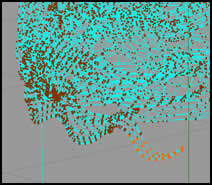
I have desired only a few points to have been selected, to
remove them, for example, I would have selected them with
the Rectangular Selection Tool.
|
Selected Polygons
|
Selected Points
|
Seletced Points to be Deleted
|
|
|
|
|
The reason I used the above example was because it was an
easy way to demonstrate how a component of a figure could
be changed in Cinema 4D.
|